
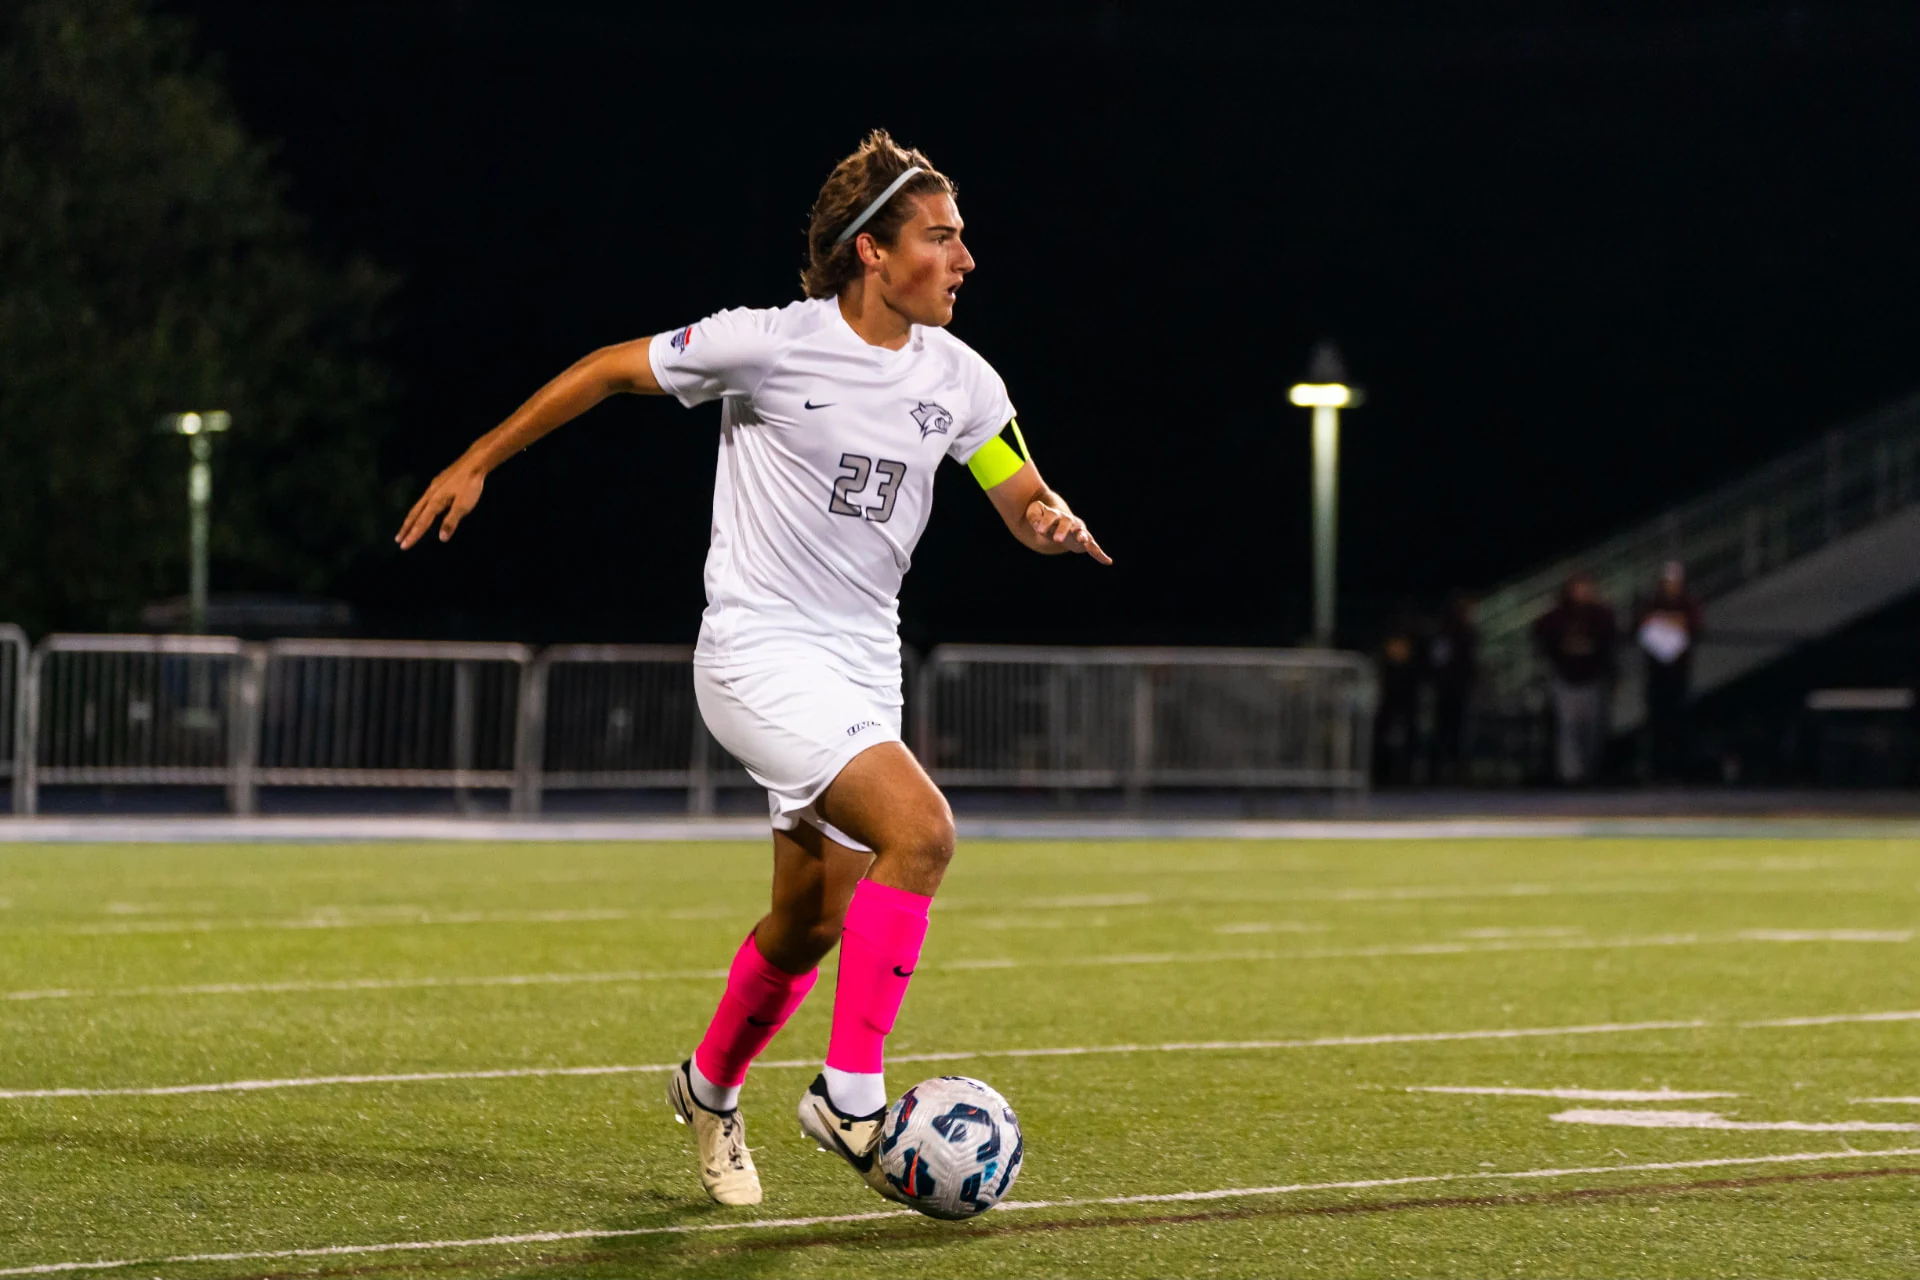
How do you shoot more accurately in soccer?
Pick a reachable target, shoot at a comfortable pace with the same foot surface and approach, and count where every shot finishes. Look for the pattern in your misses, change one thing, and only add movement, speed or distance once your hit count holds.
Why accuracy starts at contact
Every miss tells you something. The same wide shot can come from the foot angle, an awkward first touch, a rushed approach or where you hit the ball. One attempt rarely tells the whole story; five usually do.
Better ball contact changes everything, and accuracy also depends on balance and timing. The aim is a strike you can repeat, then one you can use in a game.
These drills need only a ball, a safe space and a target. To see what happens after contact, record your sets with the free KickMap AI smartphone app. All you need is a smartphone and a soccer ball.
Read your misses, not just the score
Look at several similar attempts, change one cue, then repeat the set.
- Often high?
- Check the ball’s bounce, intended launch, contact location and whether your approach leaves you leaning or reaching. Try a stationary-ball set at a low target.
- Often wide?
- Check where the foot surface faces at impact, the swing direction and whether you have room to plant. Slow the approach and aim at a broader target.
- Scattered everywhere?
- Check whether ball position, first touch, approach speed or strike type changes between attempts. Simplify to one surface and one starting point. Fatigue or an uneven pitch can also add variation.
What contact actually changes
Two things are easy to confuse: the surface of your foot (inside, instep or outside) and the contact point on the ball (where that surface touches it). Foot angle and swing direction matter too.
- Direction. In the split second of impact, your foot pushes the ball. The direction of that push, set by your swing path and foot angle, decides where the ball starts.
- Launch and speed. A push with an upward angle lifts the ball. Foot speed, a firm ankle and solid contact decide how fast it goes. A faster swing isn't automatically a more accurate one.
- Spin and flight. A push that misses the ball's center makes it spin, and in the air spin bends the flight. Speed and wind change how much.
Through the center
Little spin. The ball goes where your foot sends it.
Below center, foot rising
Higher launch, often with backspin.
Off center
The ball spins, and the spin bends its flight.
Lime dots: where you hit the ball. Dashed cyan lines: how it tends to fly.
Repeatable technique
- 1Plant foot. For a controlled straight shot, start with the support foot comfortably beside and roughly level with or slightly behind the ball. Point it roughly toward the target.
- 2Firm ankle. Hold the ankle firm in the shape your chosen surface needs. Practice at an easy pace before adding a faster approach.
- 3Body position. Stay balanced over your support leg, with enough knee bend to move comfortably. Avoid reaching for the ball or leaning back.
- 4Follow-through. Let the leg continue naturally after contact and land under control. A balanced finish is the sign of a good swing.
- Lime: support foot
- Cyan: target direction
- Red: approach to contact
Accuracy before power
Start at a pace that lets you stay balanced and reach your target without straining. Compare sets at that pace before adding swing speed. If your hits drop or the approach becomes rushed, simplify again.
Accuracy and power aren't opposites: a game shot needs enough pace as well as placement. When your hit count holds, the power guide shows how to add pace without losing it.
Five accuracy drills
Before you start: use a secured goal, keep people out of the shooting lane, and stop if anything hurts. Younger players should practice with an adult nearby and shorter distances.
8–12 yards (about 7–11 m) · 10 attempts
Move closer or widen the zone if you need to. Keep cones out of the ball's path.
Drill 1:Target zones
10 attempts- Setup & repetitions
- Use a secured goal and mark one generous low target with flat markers outside the shot path. Start at 8–12 yards (about 7–11 m), or closer if needed. Keep the ball still and use the same starting point.
- What to measure
- Count target hits out of 10; also note on-target shots and high or wide misses. Set the target boundaries before starting.
- Coach cue
- Pick the target before your approach; use a comfortable pace.
- Adapt & progress
- Make it easier: move closer or widen the zone. Make it harder: narrow the zone or add a little distance, not both at once.
Drill 2:Contact awareness
6–8 strikes- Setup & repetitions
- From a short, comfortable distance, make easy strikes toward a broad target. Choose one foot surface, such as the inside of the foot. Predict the flight before each attempt, then watch what happens.
- What to measure
- Count how many strikes match your intended direction and height. Note the contact you intended.
- Coach cue
- Notice the foot surface and the place on the ball separately. Change only one cue between sets.
- Adapt & progress
- Make it easier: stationary ball, broad target, slower approach. Make it harder: repeat with a second foot surface in a separate set.
Drill 3:Five-shot consistency
2 sets of 5- Setup & repetitions
- Choose one target, distance and approach. Take five shots, reset fully, rest, then repeat the same five-shot set.
- What to measure
- Log target hits for each set and the main miss pattern.
- Coach cue
- Same intention, same preparation; pause long enough to reset rather than rush.
- Adapt & progress
- Make it easier: enlarge the target. Make it harder: repeat with the other foot in its own set, keeping separate scores.
Drill 4:Shooting after movement
6–8 attempts- Setup & repetitions
- Take one controlled touch into space, then shoot at a broad target at a walk or easy jog. Leave room to plant comfortably; reset before the next attempt.
- What to measure
- Count target hits and clean attempts without an extra recovery touch. Compare this set only with other moving-ball sets.
- Coach cue
- Make the first touch useful. Get balanced before chasing more speed.
- Adapt & progress
- Make it easier: walk and allow a second touch. Make it harder: add a gentle approach from a different angle, with no defender initially.
Drill 5:Progressive distance
5 shots per distance- Setup & repetitions
- Start at a distance where you can strike comfortably. Agree on a reachable target-hit goal before the set. If you meet it without straining, move back one small step and take another five shots; otherwise repeat closer.
- What to measure
- Record hits out of five at each distance.
- Coach cue
- Earn distance with a balanced strike, not a bigger effort.
- Adapt & progress
- Make it easier: stay at one distance. Make it harder: add distance gradually over sessions. Stop moving back when control or comfortable technique breaks down.
Free KickMap AI app + optional Trainer
Start with the free app. KickMap AI records your shots and uses computer vision to analyze the ball's flight, so you can see what each strike actually did. All you need is a smartphone and a soccer ball.
Physics explains what happens. KickMap AI helps you see and understand the result. The optional KickMap Trainer does a different job: it shows you where to make contact before you shoot.
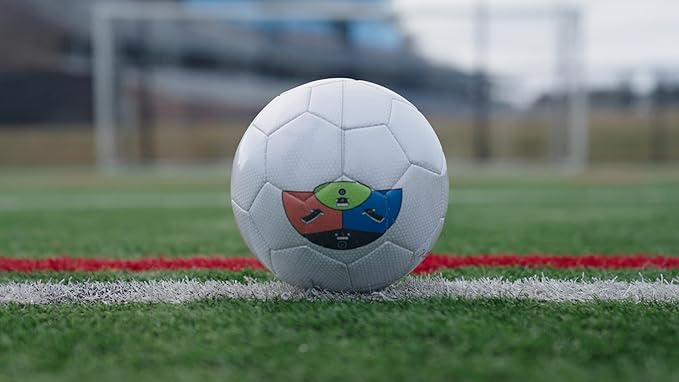
Optional KickMap Trainer
A visual strike map on the ball for six strike types, so you hit the ball where you meant to.
Explore the Trainer and six strike types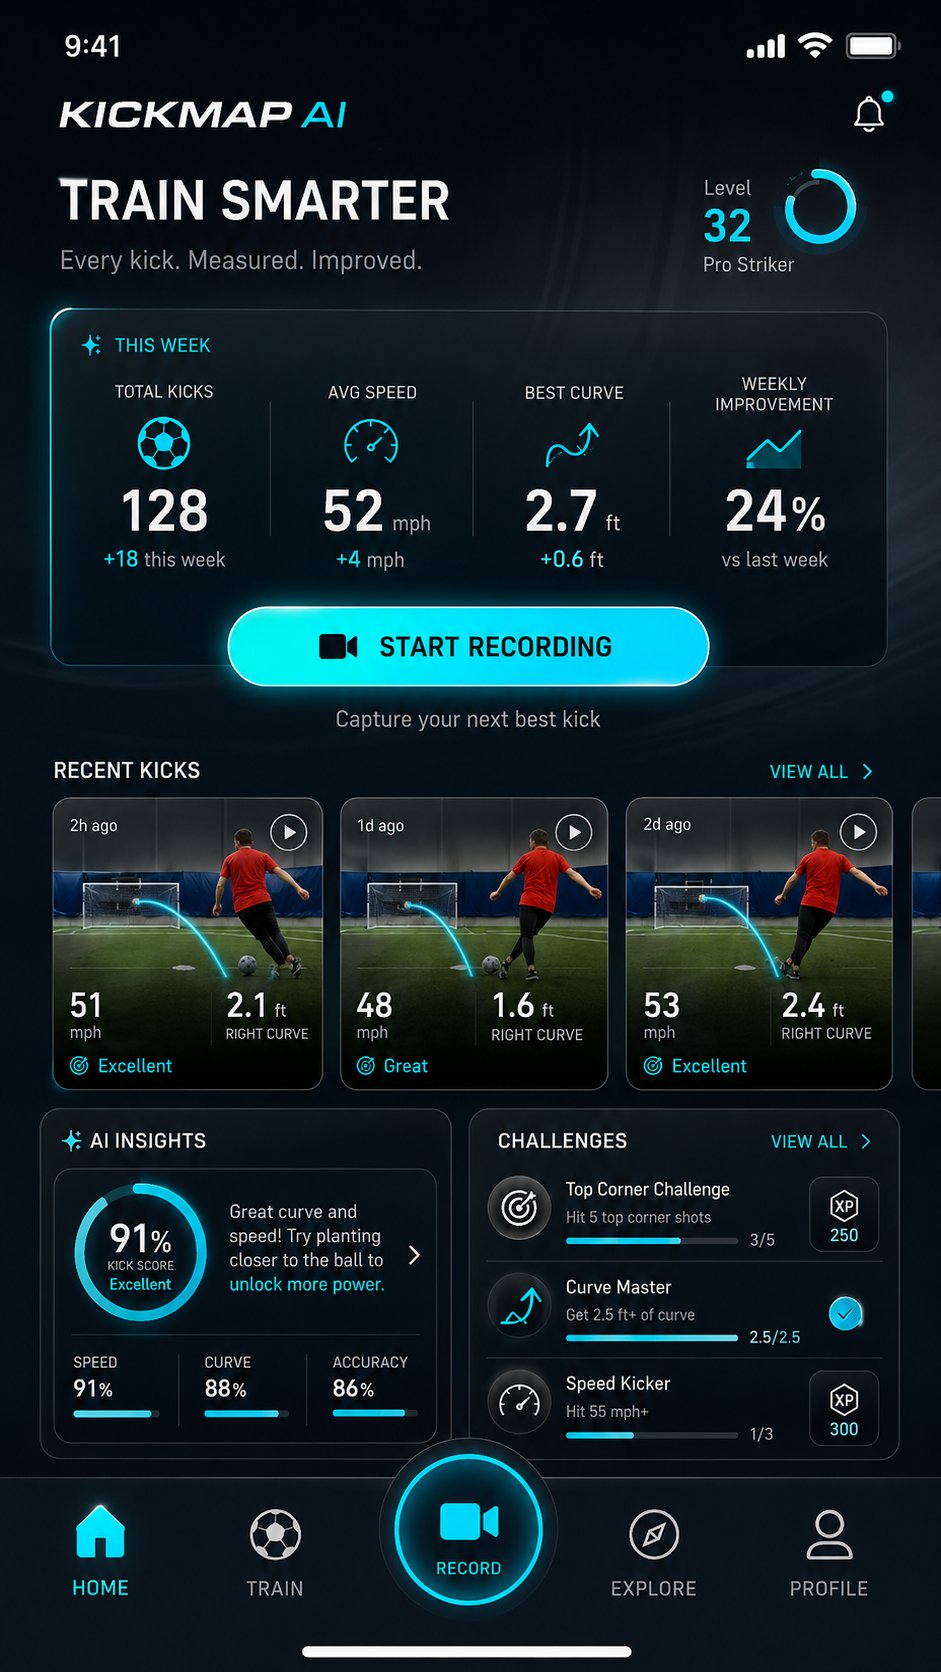
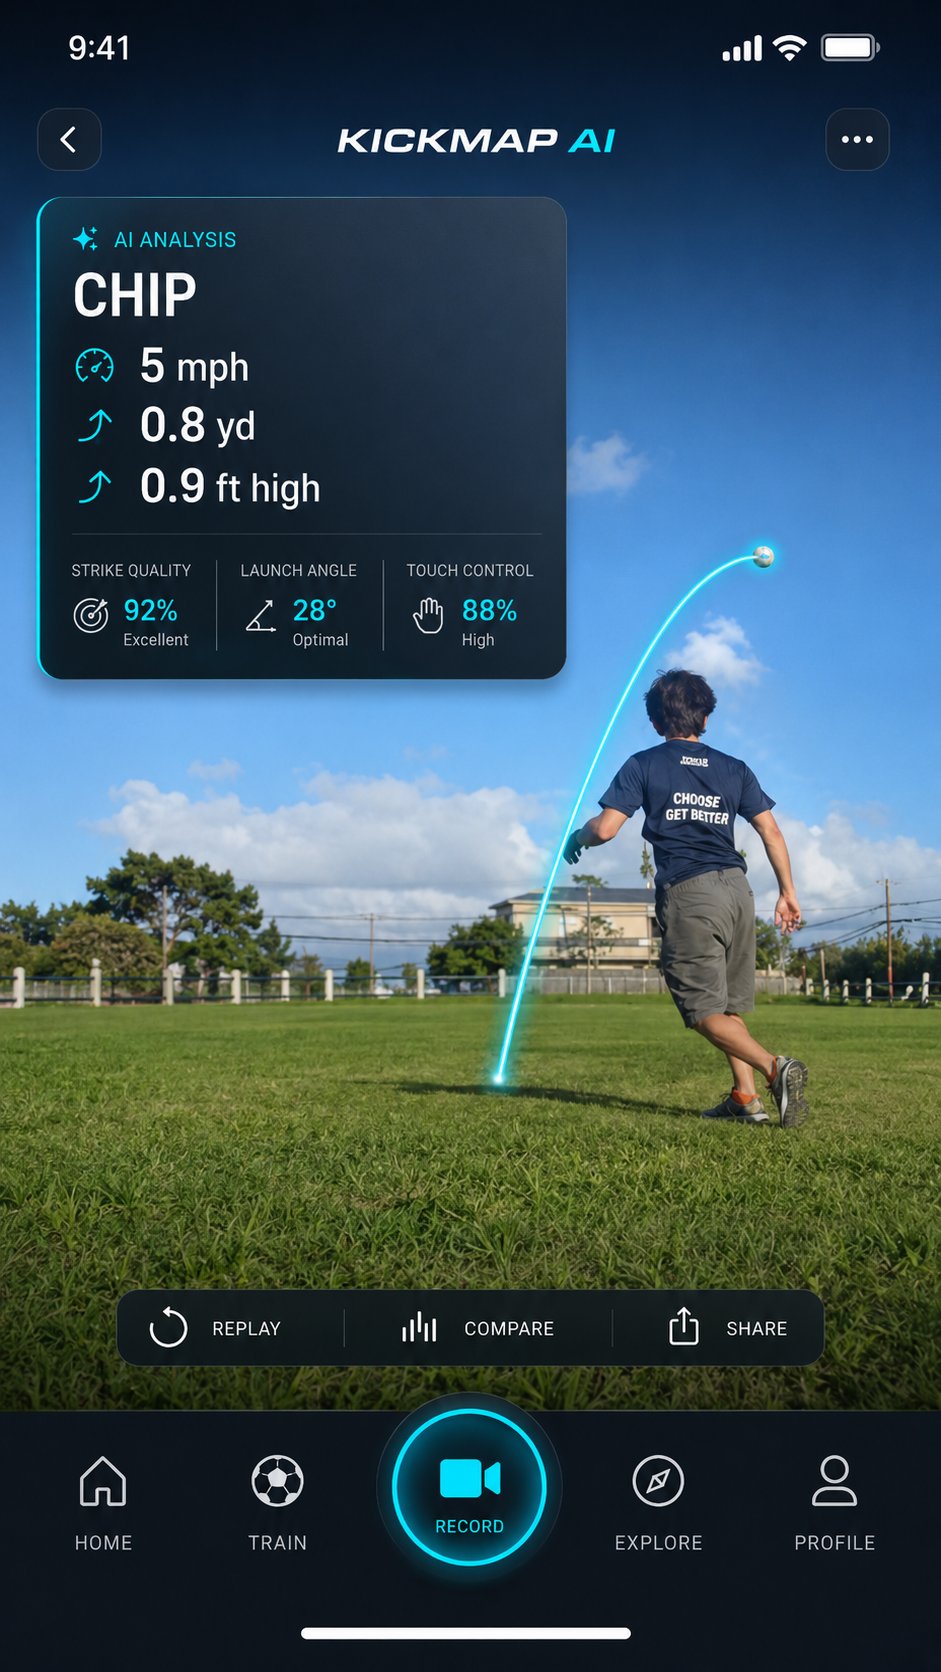
Free KickMap AI App
Record with your phone and an ordinary ball. KickMap AI analyzes the ball's flight so you can connect the shot you intended with what happened.
Measuring progress
Keep a simple log: date, target size, distance, foot surface, stationary or moving ball, attempts, target hits and main miss pattern. Write one cue to test next time. Count all attempts, not just the good ones.
Compare like with like. A smaller target or longer distance is a harder task, so a lower hit count there isn't a step back. If you film, set the phone up safely outside the shot path and frame both the approach and the flight.
Your hit count is the accuracy score. KickMap AI adds the why: record the set in the app and you can see how each shot started and traveled, then compare it with last week. The smartphone analysis guide shows the setup, and How It Works explains the full system.
A 20-minute session
Work at a steady pace; retrieval and rest count. Save progressive distance for another day instead of squeezing in all five drills.
- 0–3 minWarm up: easy movement, touches and gentle passes.
- 3–6 minContact awareness: 6 easy strikes at a broad target.
- 6–11 minTarget zones: up to 10 attempts, with full resets.
- 11–15 minConsistency: one five-shot set; repeat only if time allows.
- 15–18 minMovement: a few controlled touch-and-shoot attempts.
- 18–20 minEasy touches, record the results and choose one next-session cue.
FAQs
What is the best way to improve soccer shooting accuracy?
Pick a reachable target, use a comfortable distance and repeat one strike type. Count target hits, look for miss patterns and change one technique cue at a time. Add speed or distance only when you can keep the strike balanced and controlled.
Why do my shots go over the goal?
Usually it's leaning back, hitting too low on the ball, or striking a bouncing ball. Film a few attempts from the side to see which, then change one thing.
Should I shoot with the inside of my foot or my laces?
Both can be accurate. The inside of the foot can be a useful starting point for controlled placement; the instep is another option for a driven strike. Pick the surface that suits your intended shot and practice each separately rather than mixing techniques within a scored set.
How far away should young players start?
Close enough to strike comfortably and with control. For many younger players that's well inside 8–12 yards, with a larger target and an age-appropriate ball.
Do I need the KickMap Trainer or an app to practice?
No. A ball, a safe space and a target are enough, and a notebook can track hits. The free KickMap AI app records your shots and analyzes the ball's flight so you can compare sessions. The optional Trainer shows you where to make contact.
How often should I practice?
Two or three short sessions a week on top of team training suits most players. Rest between attempts and stop when tiredness changes your technique.
Pick one target, shoot a set you can repeat, and choose one cue for next time. That's how accuracy is built.